Installing Vision
The first step in creating a Vision application is to download and install the Vision Windows software. All installation files are available at http://www.visionarryapp.com/download. To create Vision applications, you need the file VisionWindowsSetup.exe. Once the installer has downloaded, run it and you will see the following screen:

Select Install to start the installation. When the installation is progressing you will see the following screen:
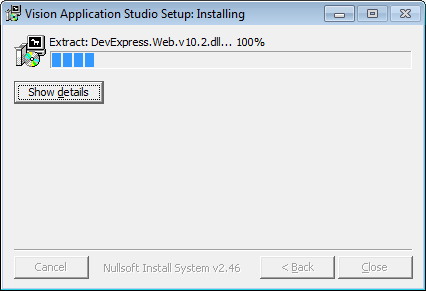
When the setup is complete, you should have have shortcut available in your Windows Start menu, as well as on your desktop:
![]()
You may wish to rename this shortcut to the name of the application you intend to create. Double-click on the desktop icon to start Vision, and proceed to the next section to start creating your application.
Creating the Application
When you start Vision for Windows for the first time, you will see the following screen:

Because you are creating an application, select Create New Application, and you will see the following screen:
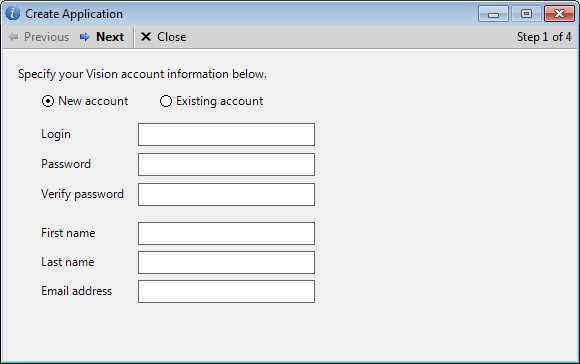
Before you can create a Vision application, you need to create an account that your application will be associated with. If you continue using Vision beyond the trial period, your account information will be used for billing purposes. Payment information is only needed after the free trial period has ended.
Enter a login (this can be an email address or something different), password, and other related information and select Next. If you have already created a Vision account, select Existing account, enter your account information, and select Next. You will then see the following screen:
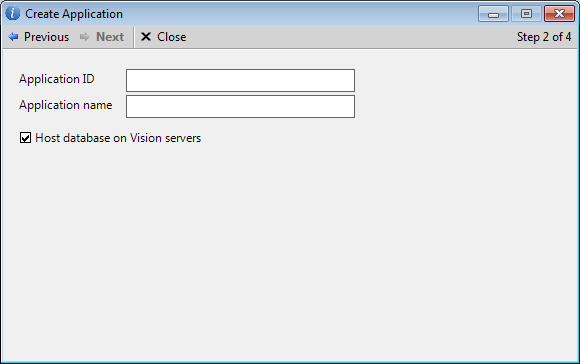
On this screen, you must supply an Application ID and an Application name. The Application ID is a unique identifier that you assign that will identify this application, including when new users access the application for the first time. The Application name is the name that will be displayed on the application itself. When you enter the ID and name and select Next, Vision will check to ensure that the ID you have selected is unique, and if it isn’t you will be requested to select another one.
Vision supports storing its data either on Vision’s database servers, on a SQL Server that you maintain within your organization, or on a server provided by a hosting company. For this application, we’ll leave the option selected to Host database on Vision servers.
When you select Next you will get the following confirmation screen:
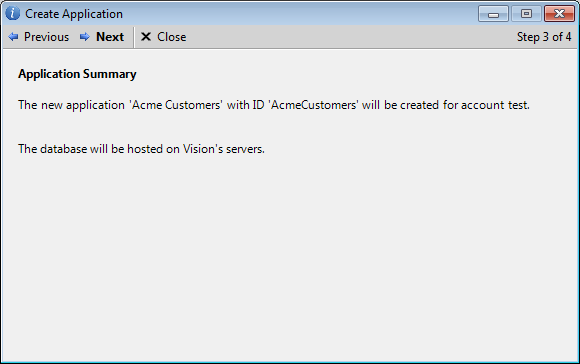
Select Next again, and your application will be created, which may take a few moments. When it is complete you will see a summary like the following:
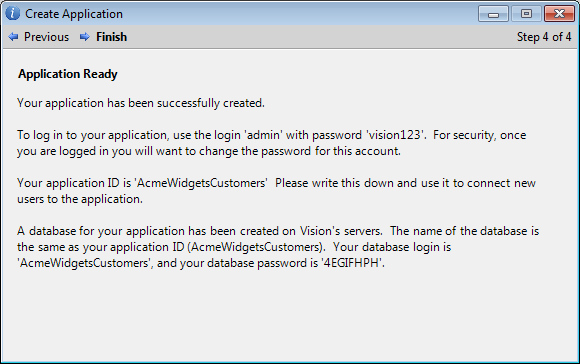
It is important to remember the ID that you created for your application. Also, you will want to write down the 8-character database password that is provided, as you will need this password if you ever need to interact directly with the database for your application.
Select Finish and your application will load:

Use the system-created login of “admin”, and the password “vision123”, to log in (press Enter after entering this information). You will then be presented with Vision’s license agreement:

After selecting Accept, your application will load and you will be presented with the main application screen:

Posted in: About Vision/General